How to Customize Your Kitchen + Keep Your Security Deposit // Renter’s Paradise Series
Unless your landlord has amazing taste, renting can be FRUSTRATING. You try to make do with what you have but most likely that’s outdated, not your style, or just plain ugly.
Renter’s Paradise is a series I created to give hope to the renters out there that aren’t in love with their current spaces. I’m sharing creative [temporary!!] updates to get the look you want without having to worry about violating your contract. Today we’re talking all about kitchens!
Disclaimer: Don’t rush, take pride in your work + ALWAYS take good before + after photos before you customize anything in your rental. This will lower your chances of having to undo your updates when you move out. Your relationship with your landlord, how often your landlord is in your space + the rules of your contract will determine whether or not you decide to inform your landlord of the updates you make. It’s always safer to do so, especially since these are temporary updates + should not violate the terms of a typical contract: no holes in the walls + no permanent changes, BUT… you’ll know what’s best given your situation. Always test products [such as contact paper] on an inconspicous area, leave on for 24 hours + carefully remove to test for damage before applying to the entire surface.
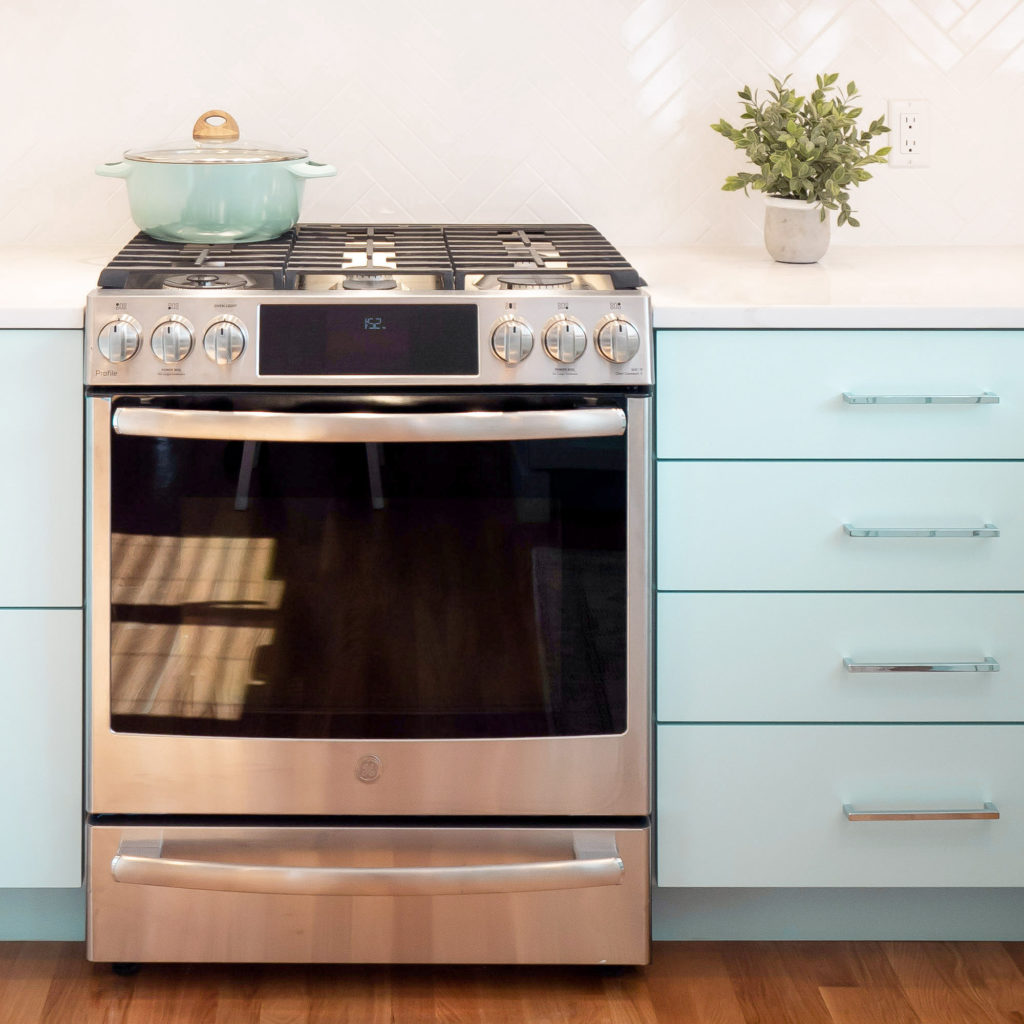
1. UPDATE YOUR APPLIANCES
If your apartment came with stainless steel appliances, consider yourself blessed. If you have black, white, BEIGE or another outdated finish, stainless contact paper will do the trick. Carefully cut to size + stick to the appliance surface. Make sure you leave enough to wrap the edges. Update all appliances… it will look much more convincing this way!
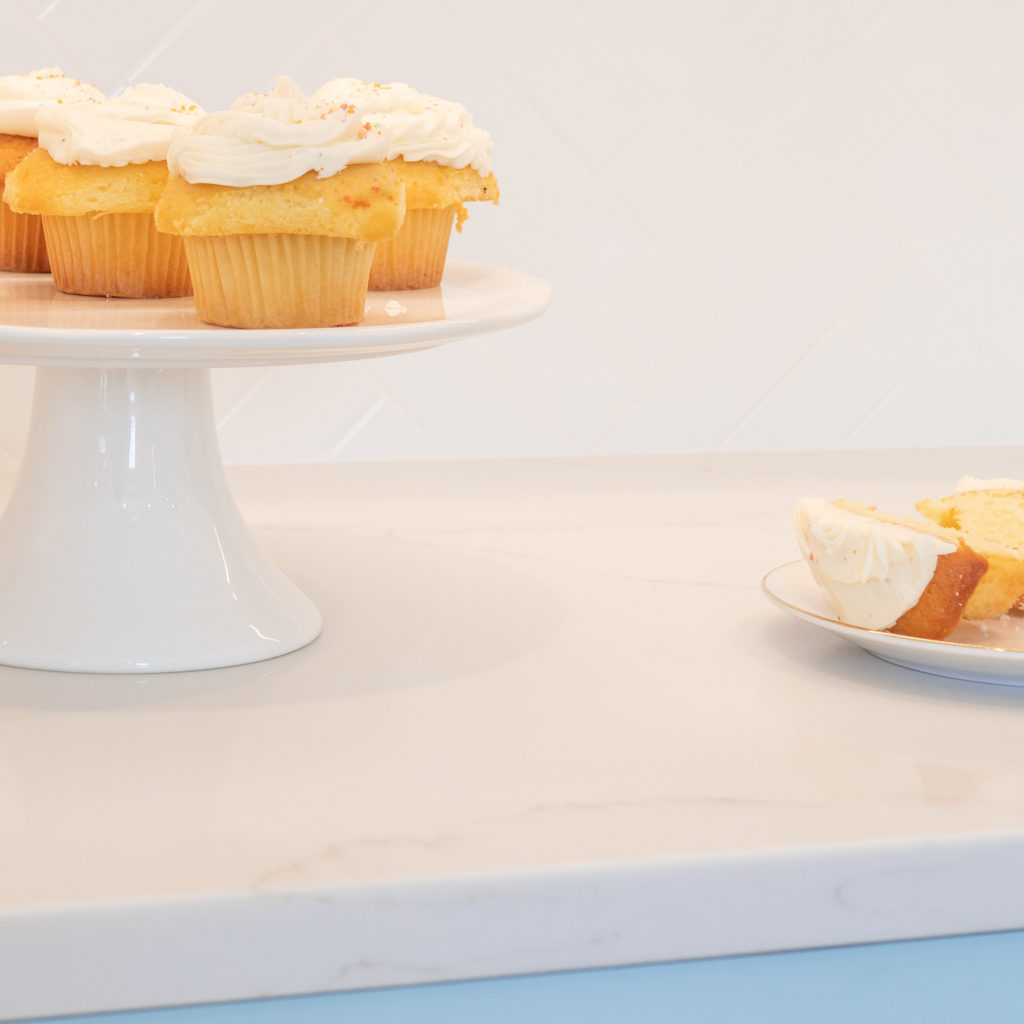
2. GET NEW COUNTERTOPS
90% of the apartments I’ve seen have laminate countertops from who-knows-when. And they’re usually the most offensive color on earth.
Contact paper has come to the rescue yet again! I’m loving this white carrara marble look, but this calacatta gold marble look is gorgeous as well. Cut to size + apply to the surface. Make sure you leave enough to wrap the edges. If your countertop has a 3-4″ lip where your countertop hits the wall, make sure you fully cover the lip with the contact paper as well. Once everything’s covered, caulk the bottom of the lip for a more realistic look!
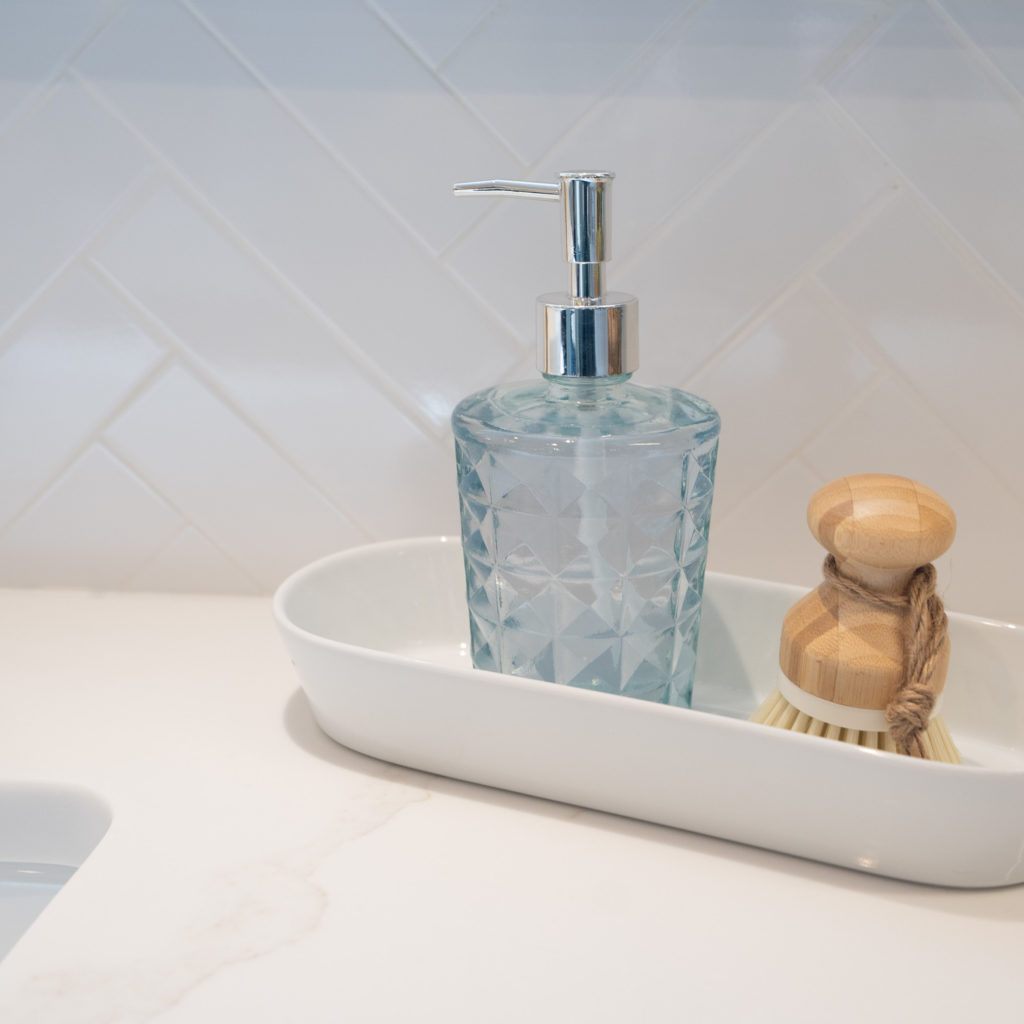
3. ADD A PRETTY BACKSPLASH
You may not be a fan of your current backsplash, or maybe you’d like to add some! Faux backsplash is the easiest way to bring style to your kitchen. Cut to size + apply to the surface. I love a classic white subway tile, but I’d also use this fun patterned tile or marble herringbone! Once the faux tile is installed, caulk the bottom for a more realistic look!
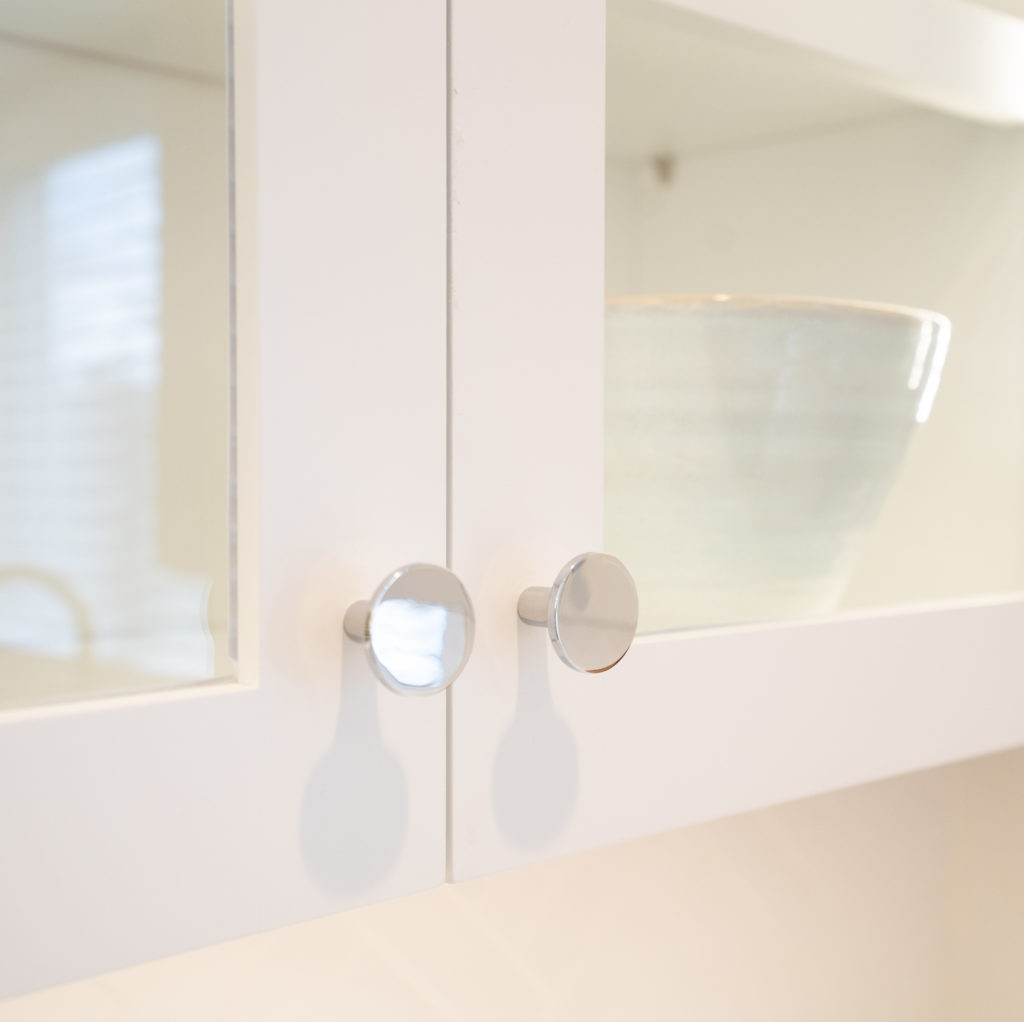
4. INSTALL NEW HARDWARE
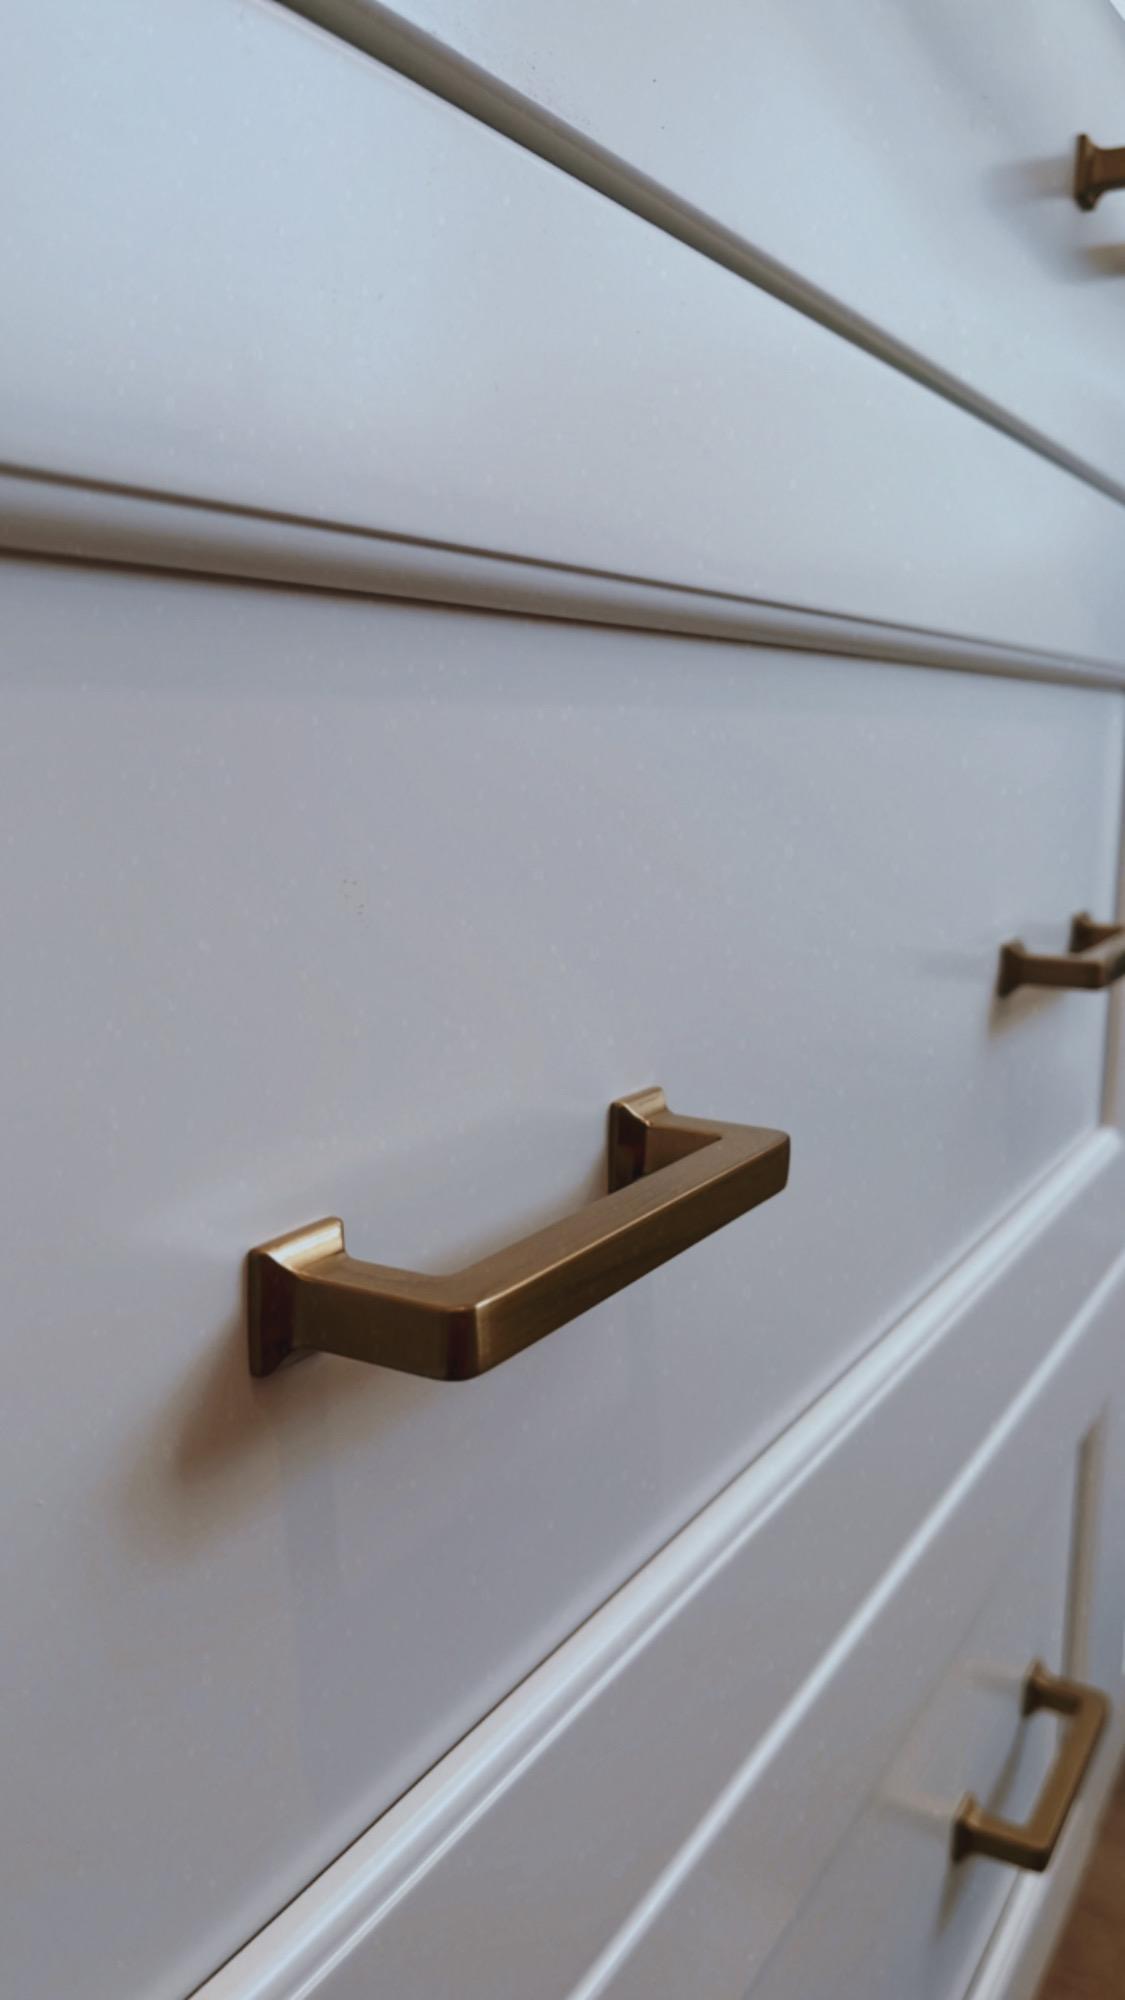
You may have outdated hardware or no hardware at all. This is an inexpensive + easy way to make your kitchen feel more “you”! I love these minimal pulls in black or brass. These black or brass knobs are super simple with a hint of modern.
If you’re replacing knobs, no measuring required! If you’re replacing pulls, measure from the CENTER of first screw to the CENTER of the second. Your new pulls need to have this same measurement. Keep the old hardware + screws just in case!
If you’re adding hardware: ask your landlord, since you’ll be creating holes. Decide on knobs, pulls or both. My hardware placement guide is in the works so message me with ?s!
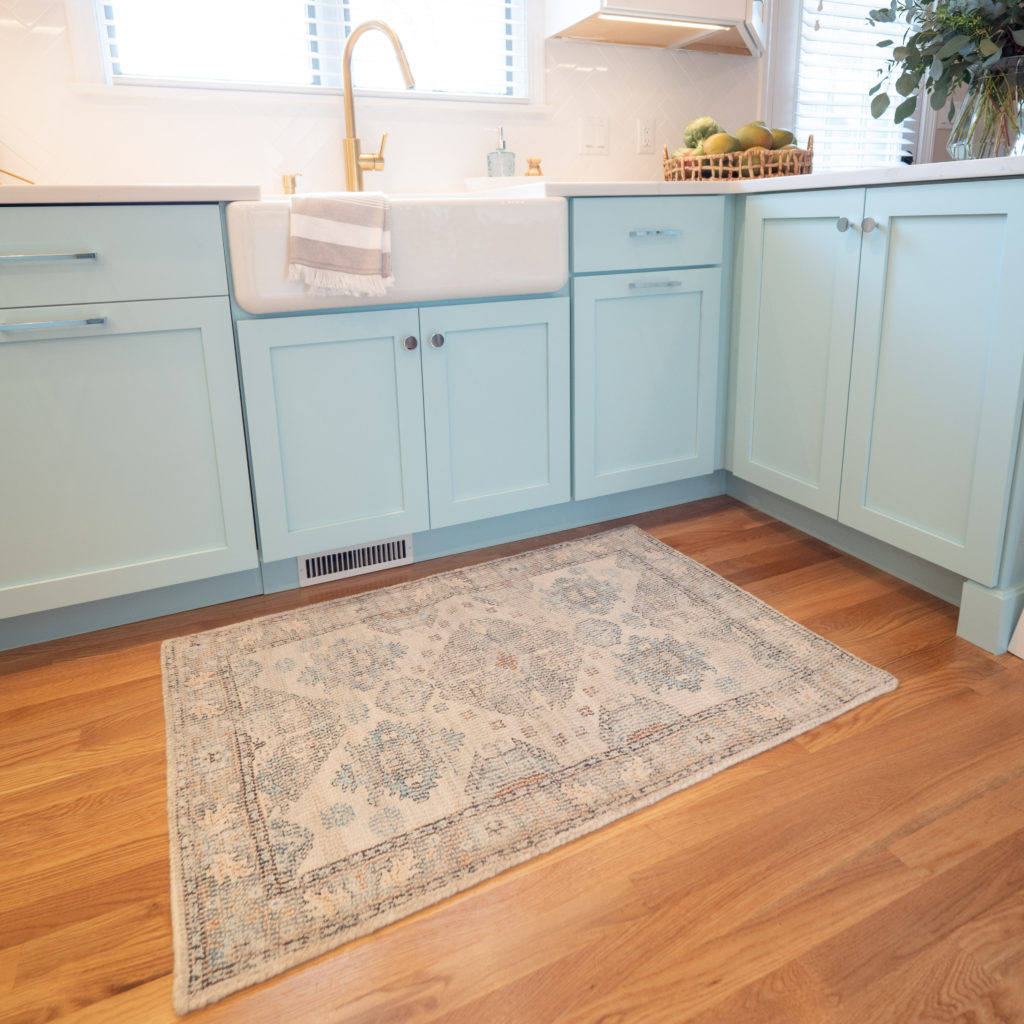
5. ADD A KITCHEN RUG
A rug is the perfect way to add a soft element + color to your kitchen! I’m not a fan of my kitchen flooring, so I get to cover part of it up + stand on something soft when I’m cooking or doing the dishes!
A 3×5 rug usually works best in a smaller kitchen. If you have a larger kitchen, you may want a 2.5×8 runner. Measure it out to see what works best for you! Don’t forget a rug pad underneath!
My top rugs: 1, 2, 3, 4
My top runners: 1, 2, 3, 4
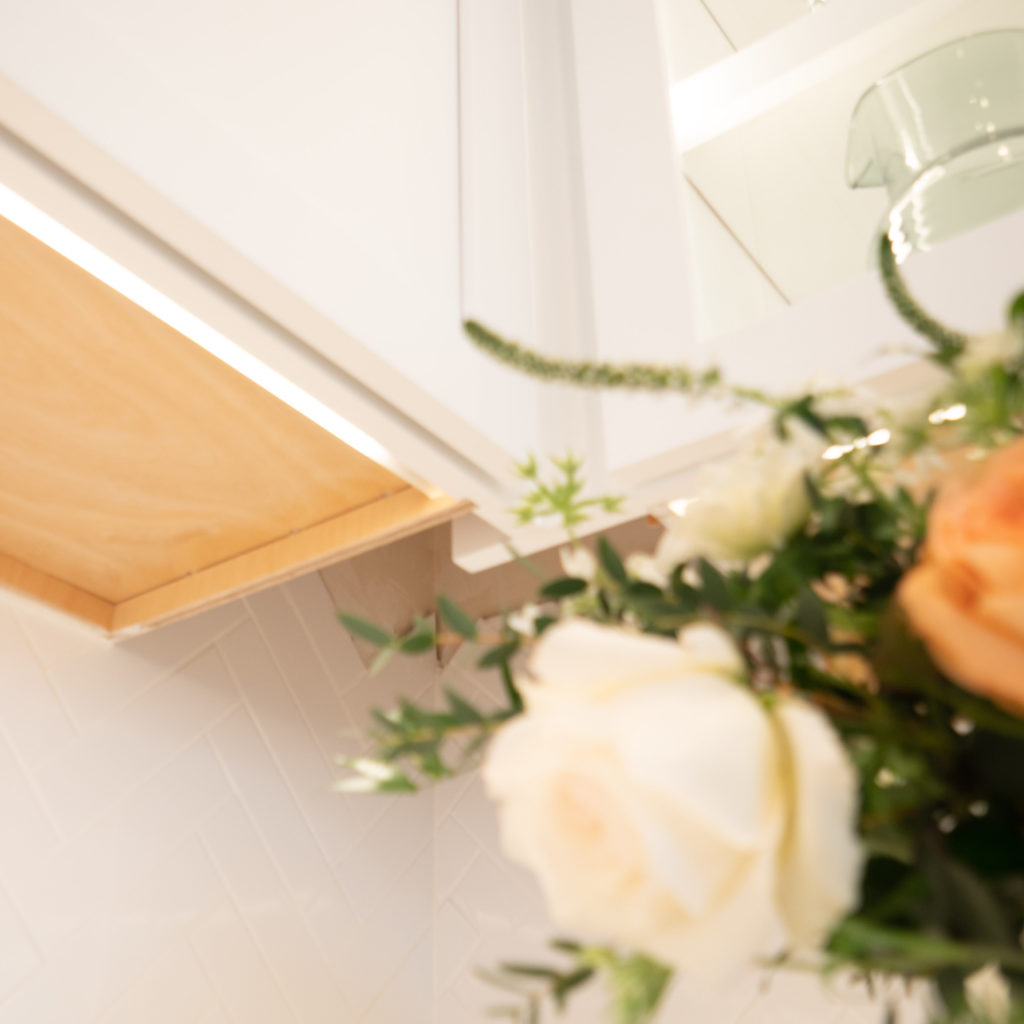
6. ILLUMINATE YOUR SURFACES
This. Is. HUGE. We have undercabinet lighting + it’s life changing. It takes less than an hour to install + you’ll wish you did it sooner.
First, purchase this wireless light switch. Use command strips [no holes!] to place it on the wall near your kitchen sink or other switches.
Next, purchase these led strip lights. They’re prepped with command tape for no-hole application + connectors to easily follow the shape of your cabinets. Apply as close to the front as possible [see photo], so the light is centered on your countertops.
Lastly, plug the lights into your wireless outlet. Now they’ll turn on/off with a wall mounted switch + feel as if they’re hardwired!
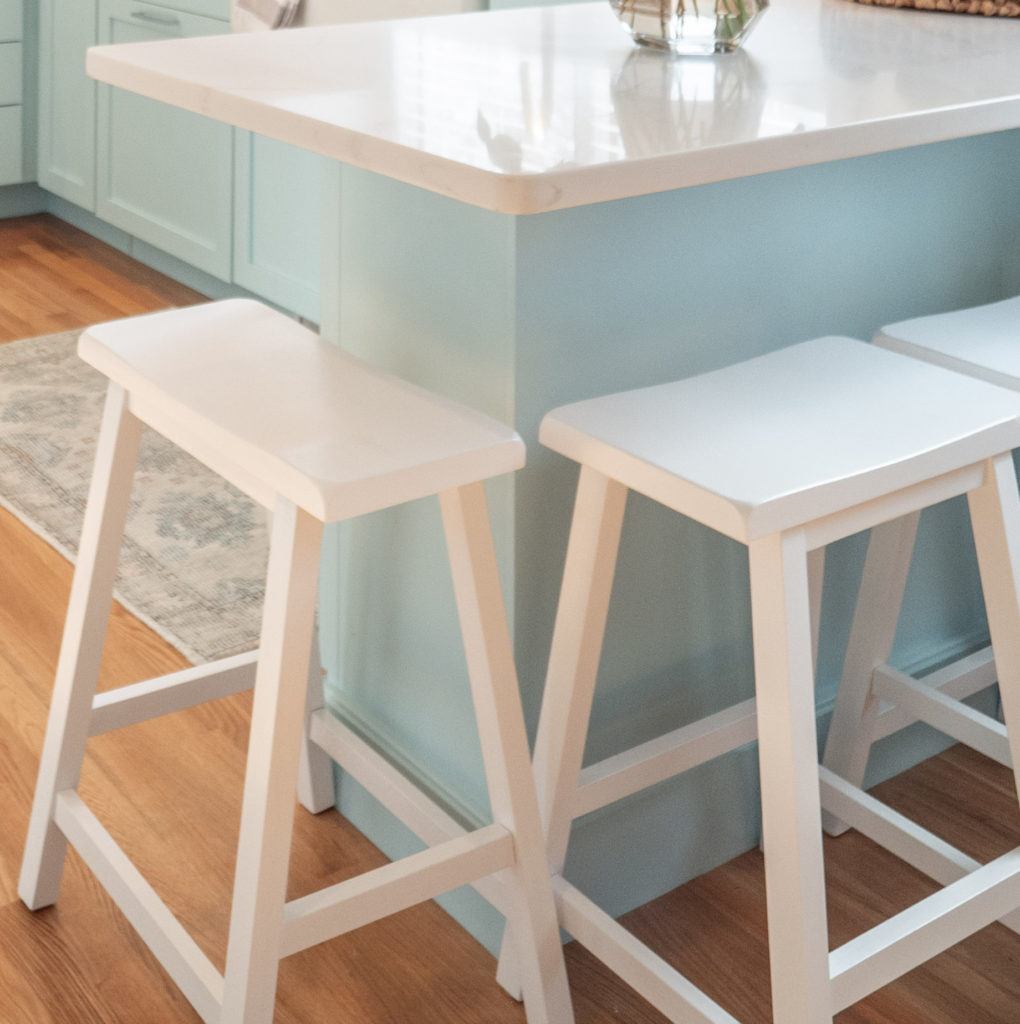
7. ADD AN ISLAND
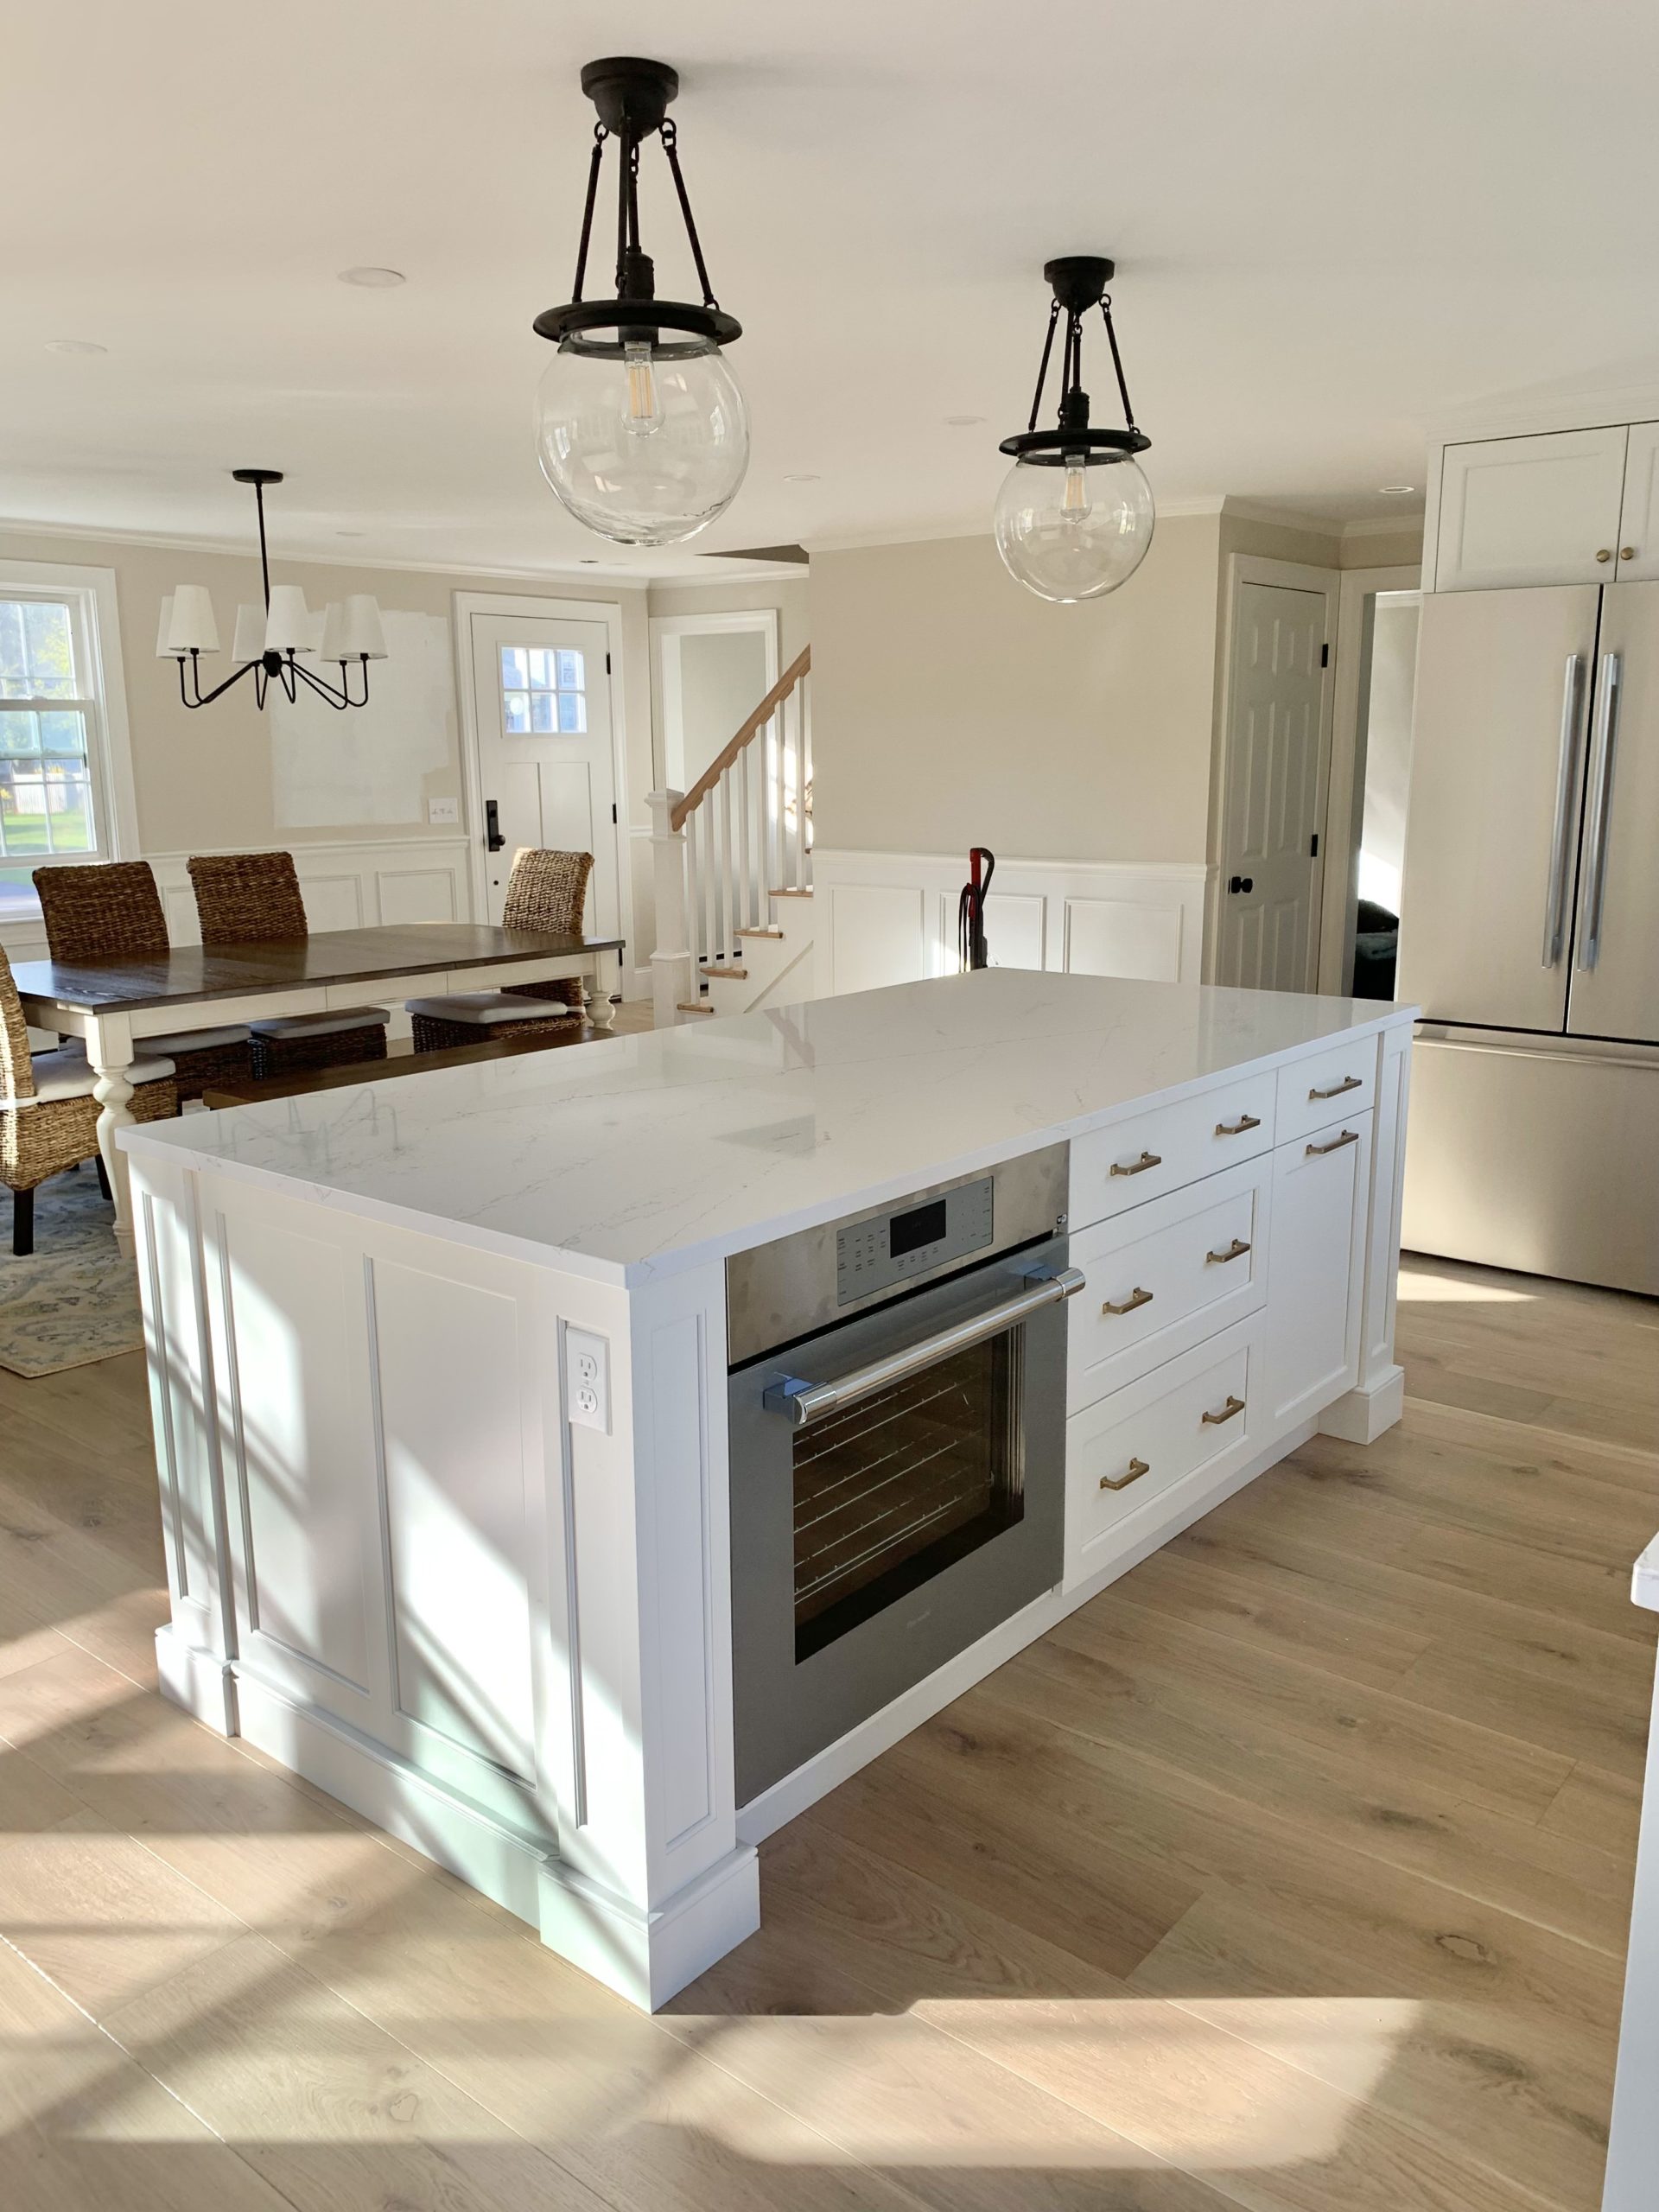
If you’re dying for extra counterspace, or just love the look of a kitchen island, a freestanding island is perfect for your rental. It’s a great investment + one you can bring with you when you move.
If your kitchen is teeny, this small mobile cart is super cute. If you have a bit more space, I love this island because it offers closed storage for a cleaner look [also available with open shelves]. If you’d like to add some seating to your kitchen, I can’t get over this shiplap island [would fit two counter stools perfectly].
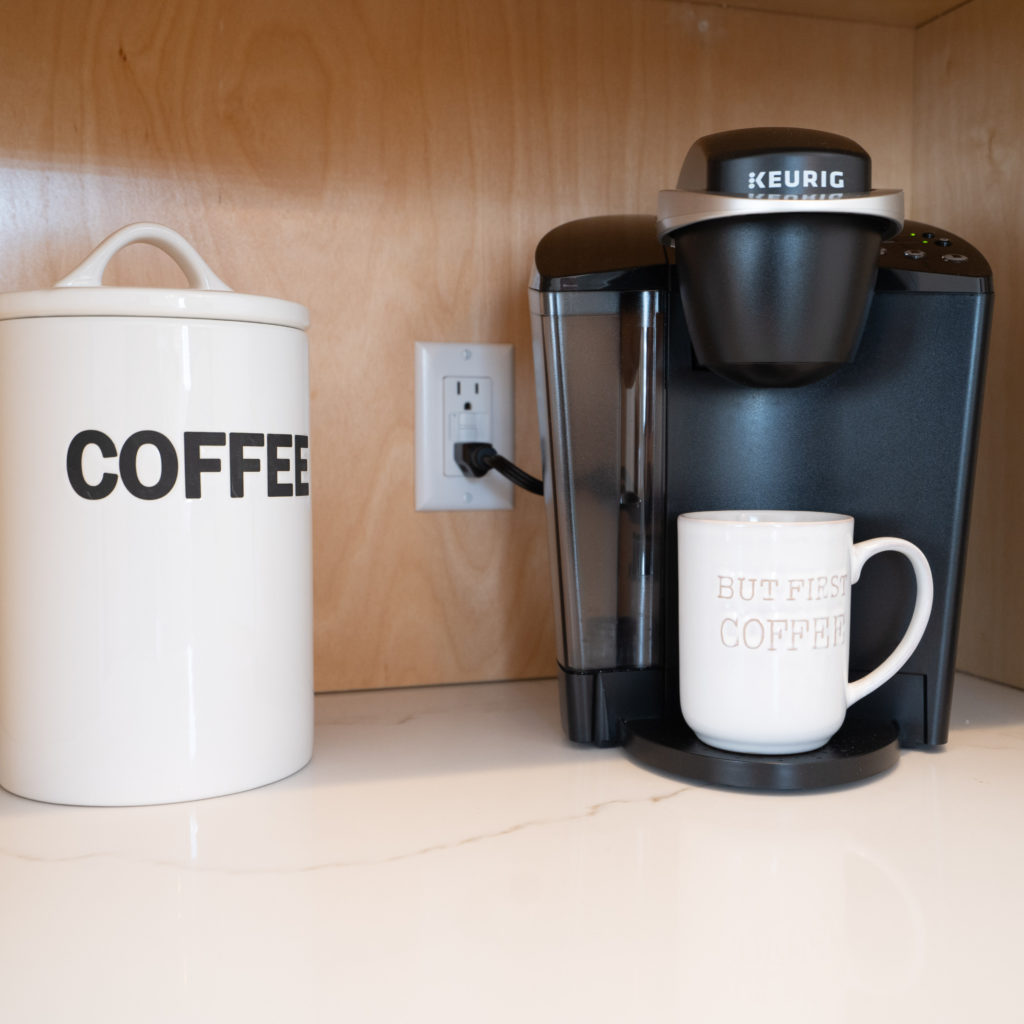
8. CREATE A COFFEE STATION
We have a dedicated area for all things coffee + it’s pretty much the best part of our kitchen.
I love iced coffee + the option to make lattes, so this coffee maker was perfect for us. Fill some pretty canisters with coffee grounds + sugar, or whatever you put in your coffee! I usually make an iced coffee with a splash of my favorite creamer.
This mug holder or these mug hooks are great if you’re low on cabinet or counterspace! If you use k-cups, this is a great organizer!
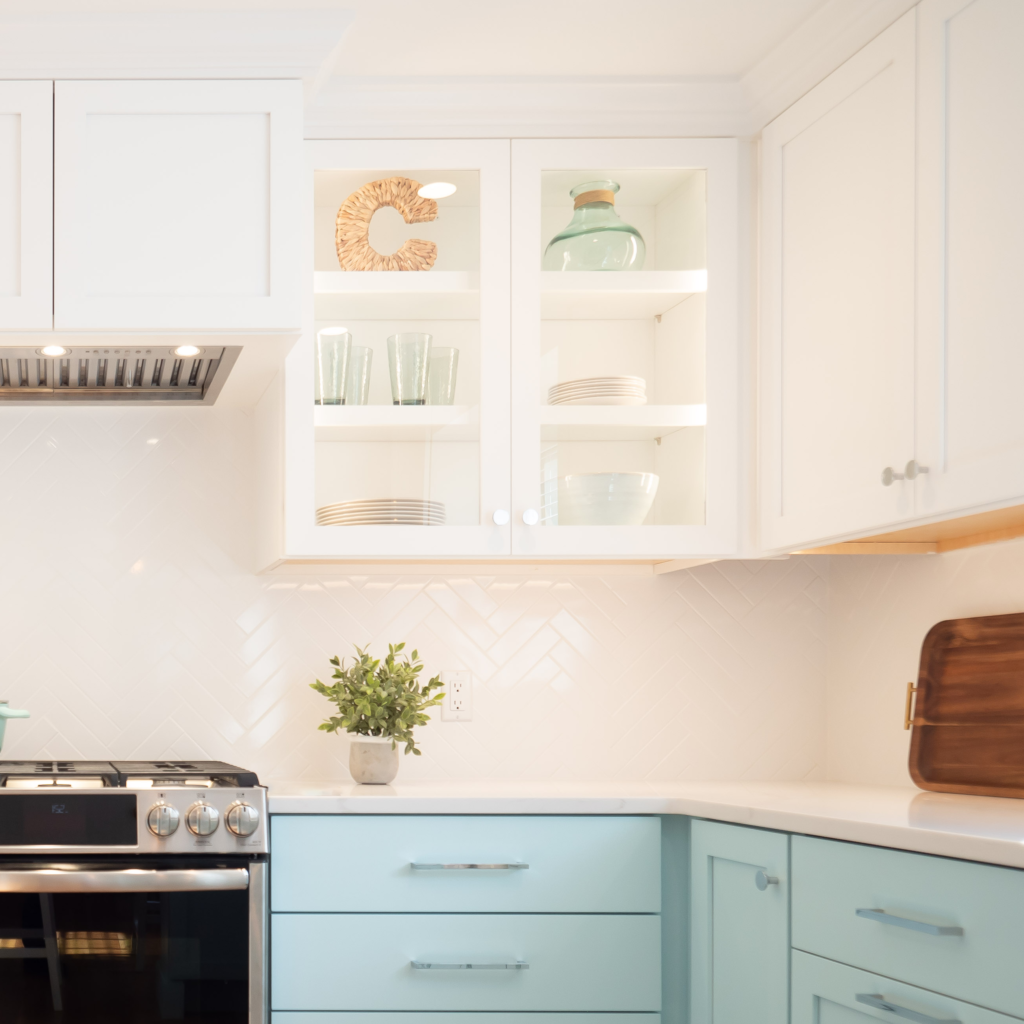
9. TRANSFORM YOUR CABINETS
Raise your hand if you have oak cabinets with more edge details on your doors than you can count. Changing your cabinet color is the BIGGEST impact you can make in your kitchen.
Propose painting them a neutral white, off-white or light warm gray/greige. Your landlord may very well be on board. If that’s not an option, contact paper is your friend.
Contact paper works best with straight edges. Your best bet is flat doors/drawers [see blue drawers], but it also works on framed doors with straight edges [see white doors]. If you have detailed crown molding [see photo], or other non-flat profiles, paint is the way to go.
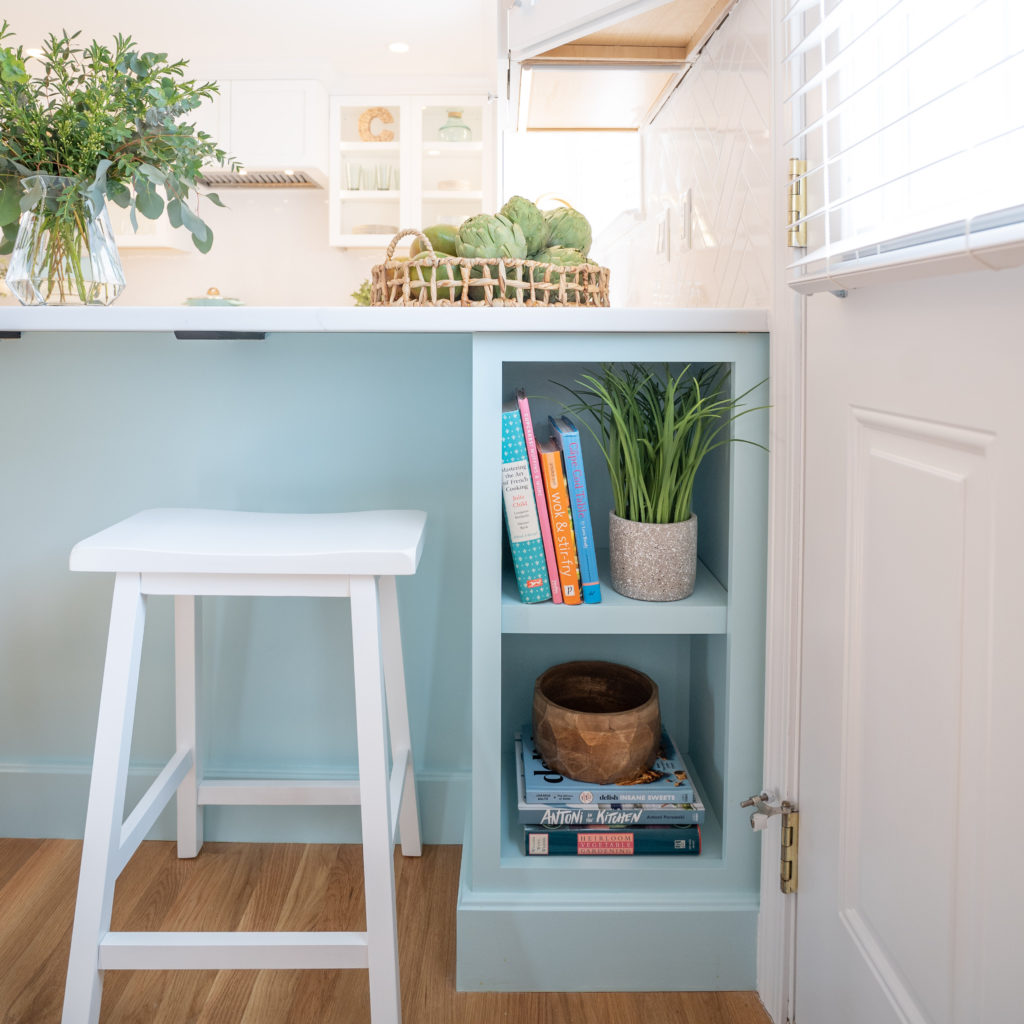
10. ADD GREENERY
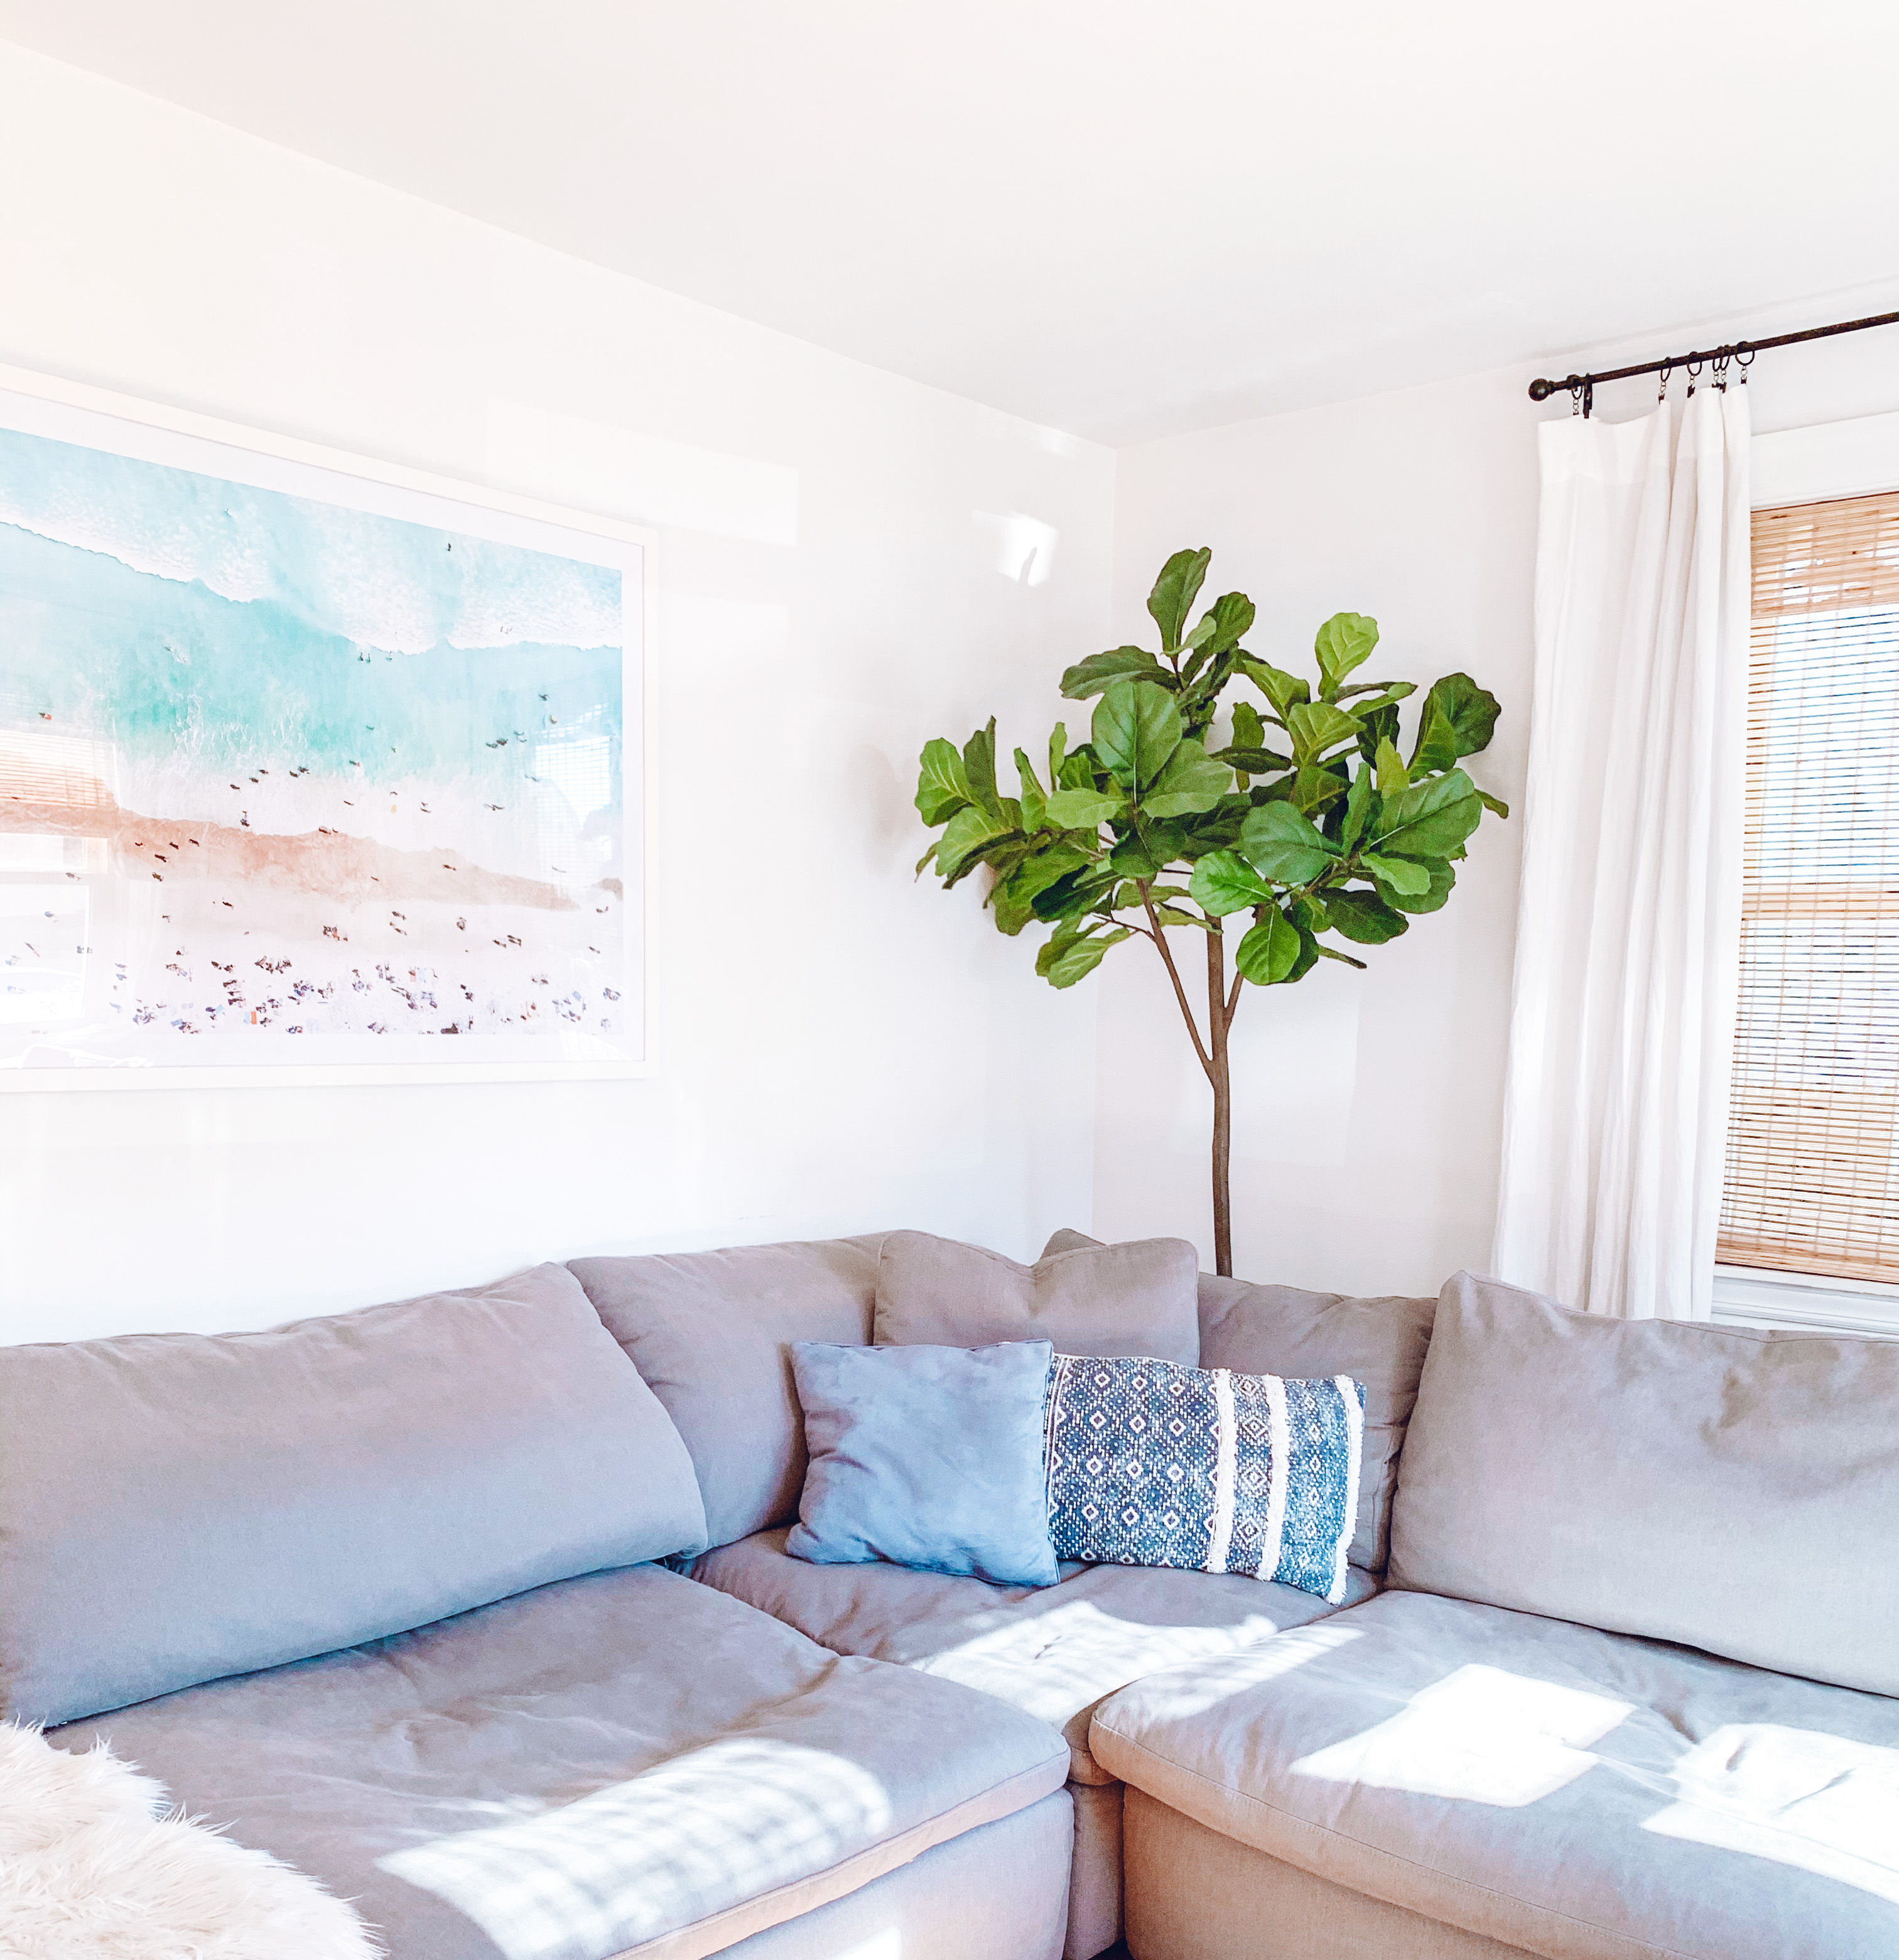
Greenery should no doubt be in every room, whether faux or real.
This real baby olive tree would look great on any countertop. I’d pair it with this self-watering pot if you’re a plant killer like me.
I also love a good faux fiddle leaf or succulent!
I have a lot more kitchen ideas, but I’m going to post on other rooms in my Renter’s Paradise series before I do a kitchen part II. Message me with any questions!!
If you make any of these updates in your space, I’d LOVE to see it!! Post a picture on your Instagram story, tag @aurainteriors_ + hashtag #dandymademedoit. Can’t wait to see how you customize your space!
Which room would you like to see next?! ♡
All photos are from my #coastalfunky project in Marion, MA!
